Aspen Seating Assembly Instructions
View fullsize
![Step 1]()

Step 1
View fullsize
![Step 2]()

Step 2
View fullsize
![Step 3]()

Step 3
View fullsize
![Step 4]()

Step 4
View fullsize
![Step 5]()

Step 5
View fullsize
![Finished!]()

Finished!
Before you begin: Remove any packaging material and separate the pieces. You should have the following pieces:
View fullsize
![2 x Arm]()
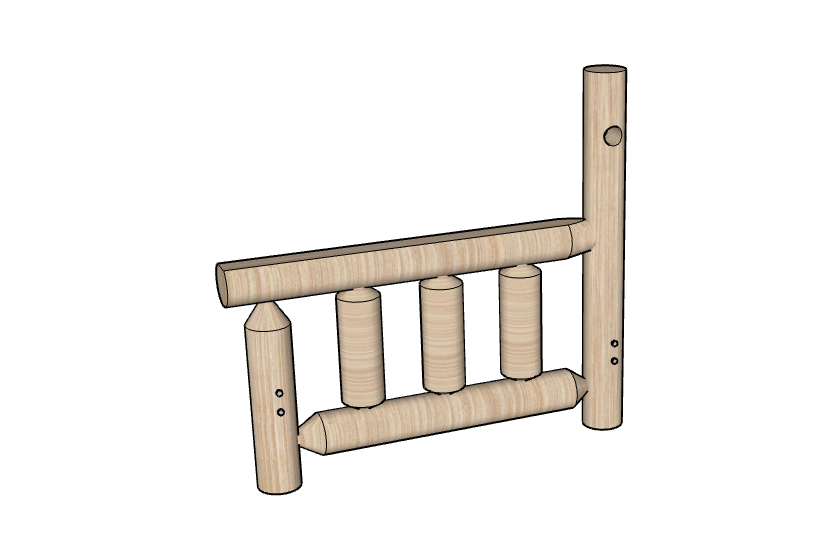
2 x Arm
View fullsize
![2 x Rail]()
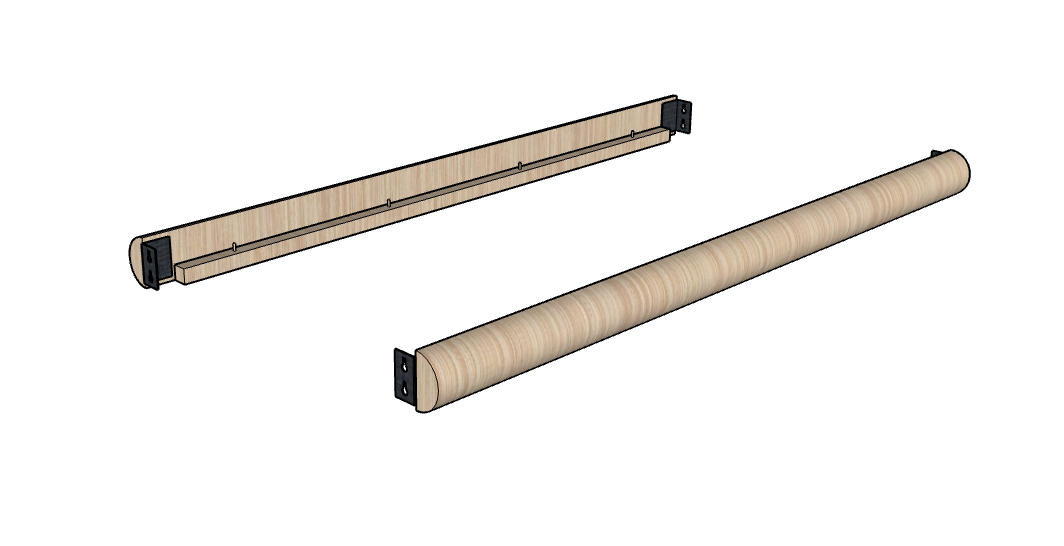
2 x Rail
View fullsize
![1 x Back]()

1 x Back
View fullsize
![Slats]()

Slats
View fullsize
![1 x plywood]()

1 x plywood
View fullsize
![Cushions]()

Cushions
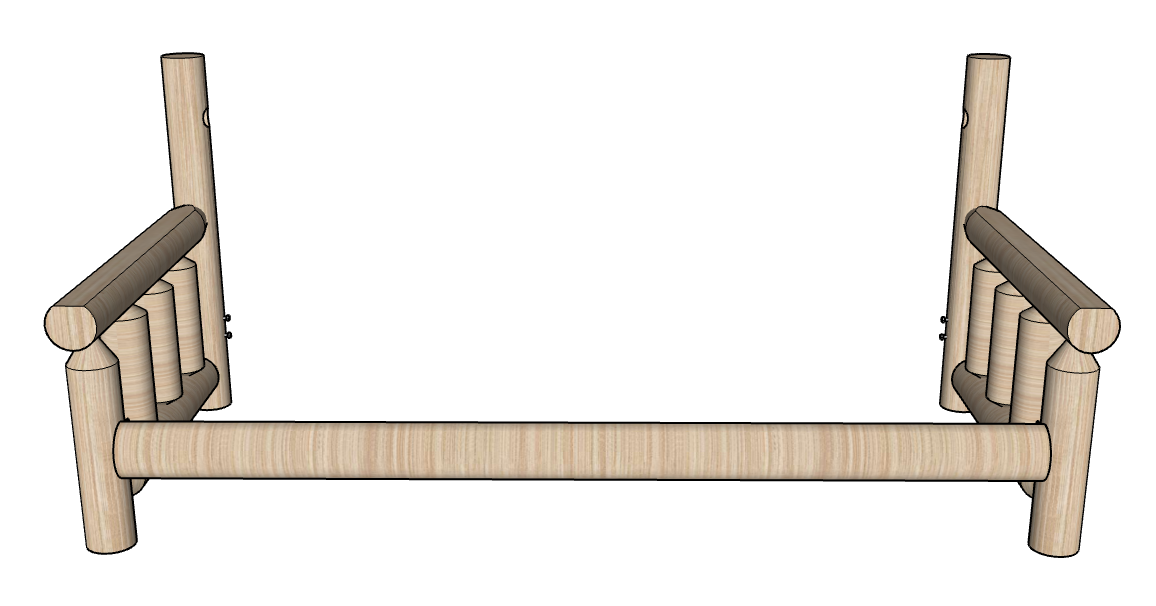
Step 1: Attach the front rail to the arms. The front rail’s slat support is higher on the log while the back rail slat support is flush with the bottom of the log. Next, attach one side of the back rail. Do not attach both sides of the back rail at this point.
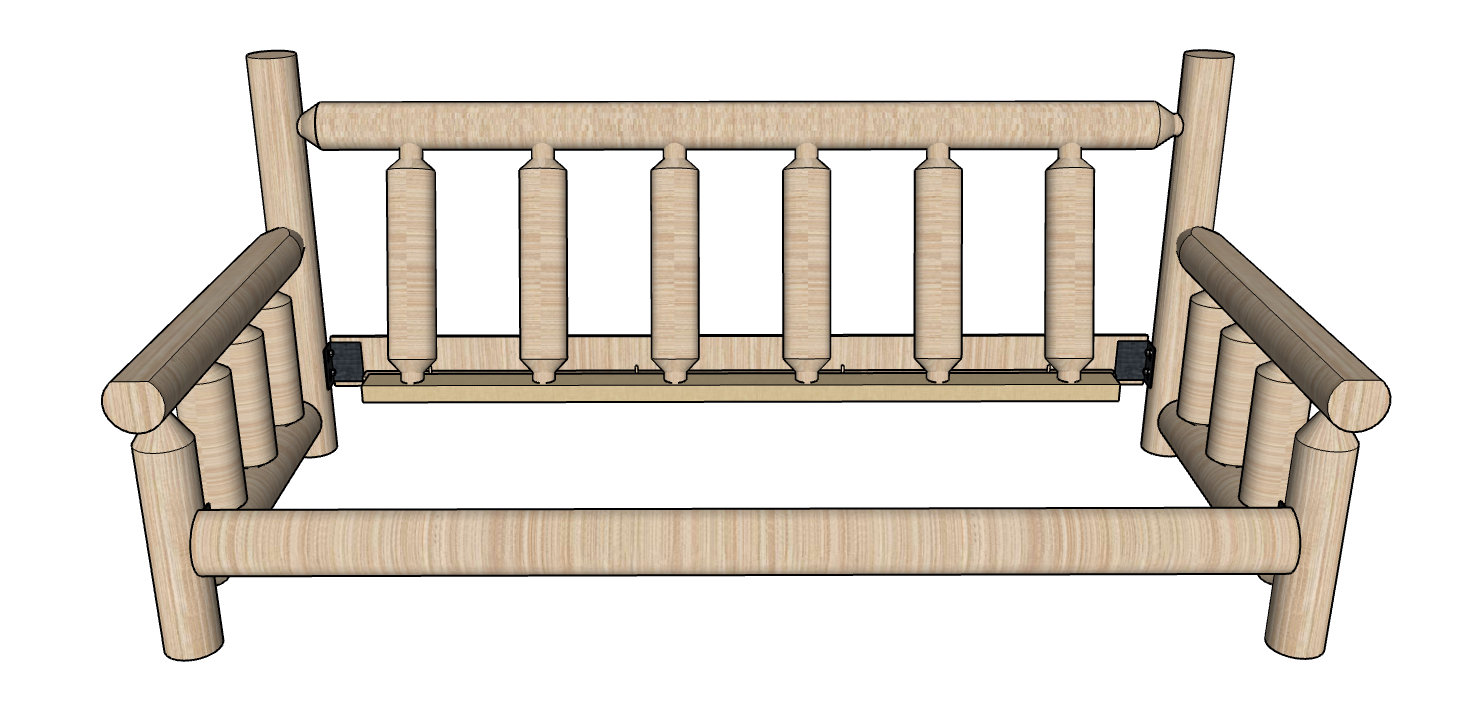
Step 2: Attach the back to the arms by inserting the tenon into the hole in each arm. Attach the back rail at this time. Tighten the bolts fore each rail, careful not to over tighten.
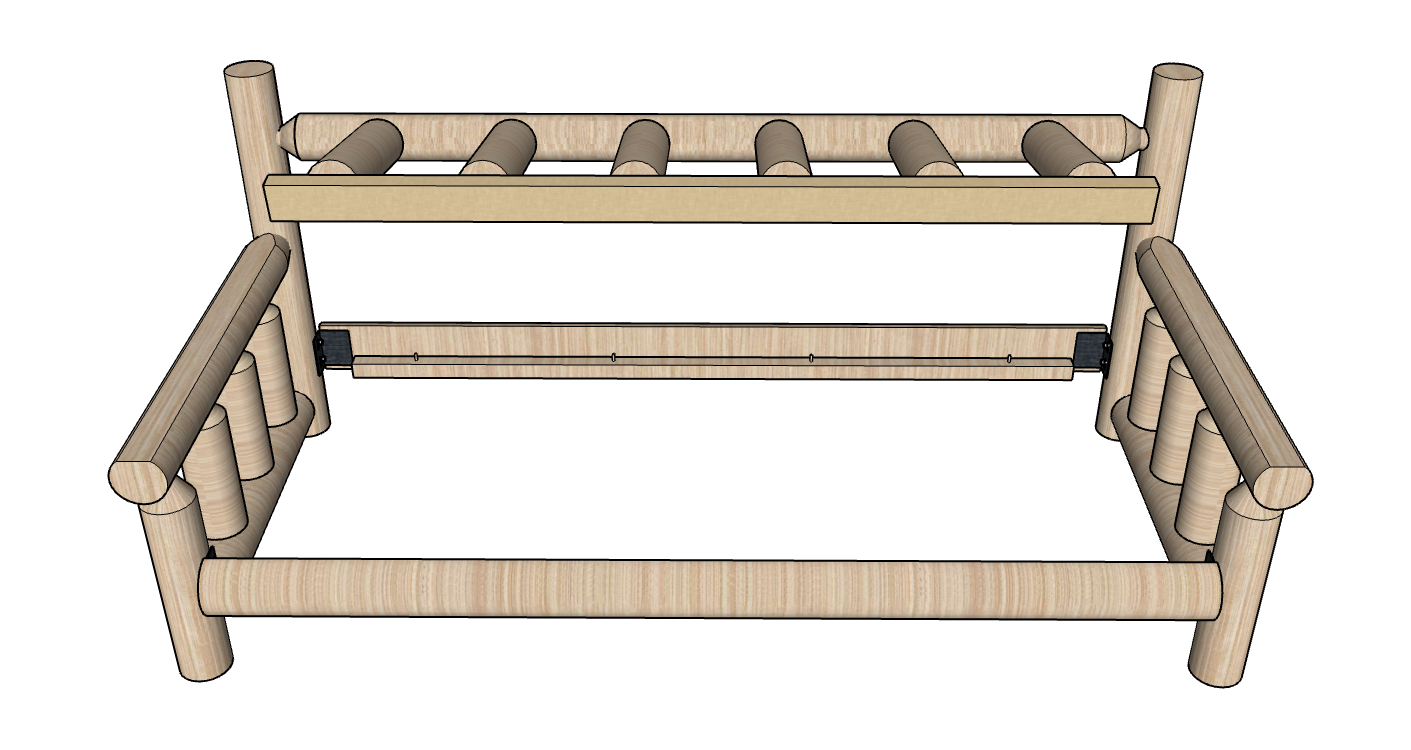
Step: 3: Install the slats by placing them on the pegs which are pre-installed on each rail.
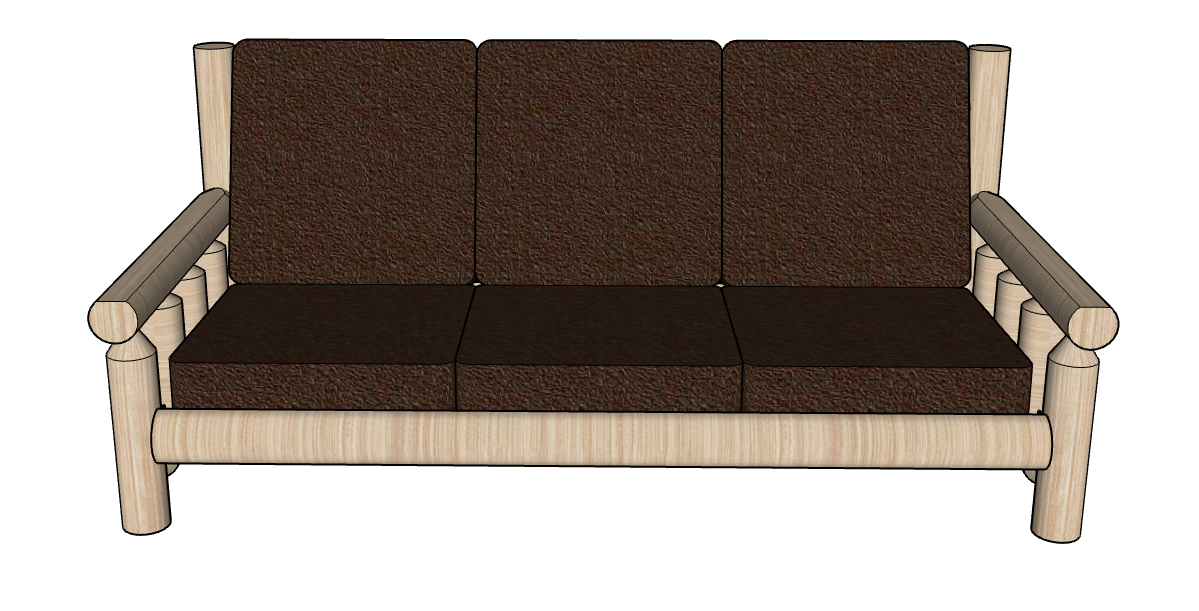
Step 4: Place the plywood on the slats and add the cushions.

